DOP | Camera operator
TheBotanist_Drone_shoot01_1.37.1.jpg

Blog

Posts tagged steadicam
TIFFEN - Silver Steadicam Workshop
Group_DSC2953.jpg

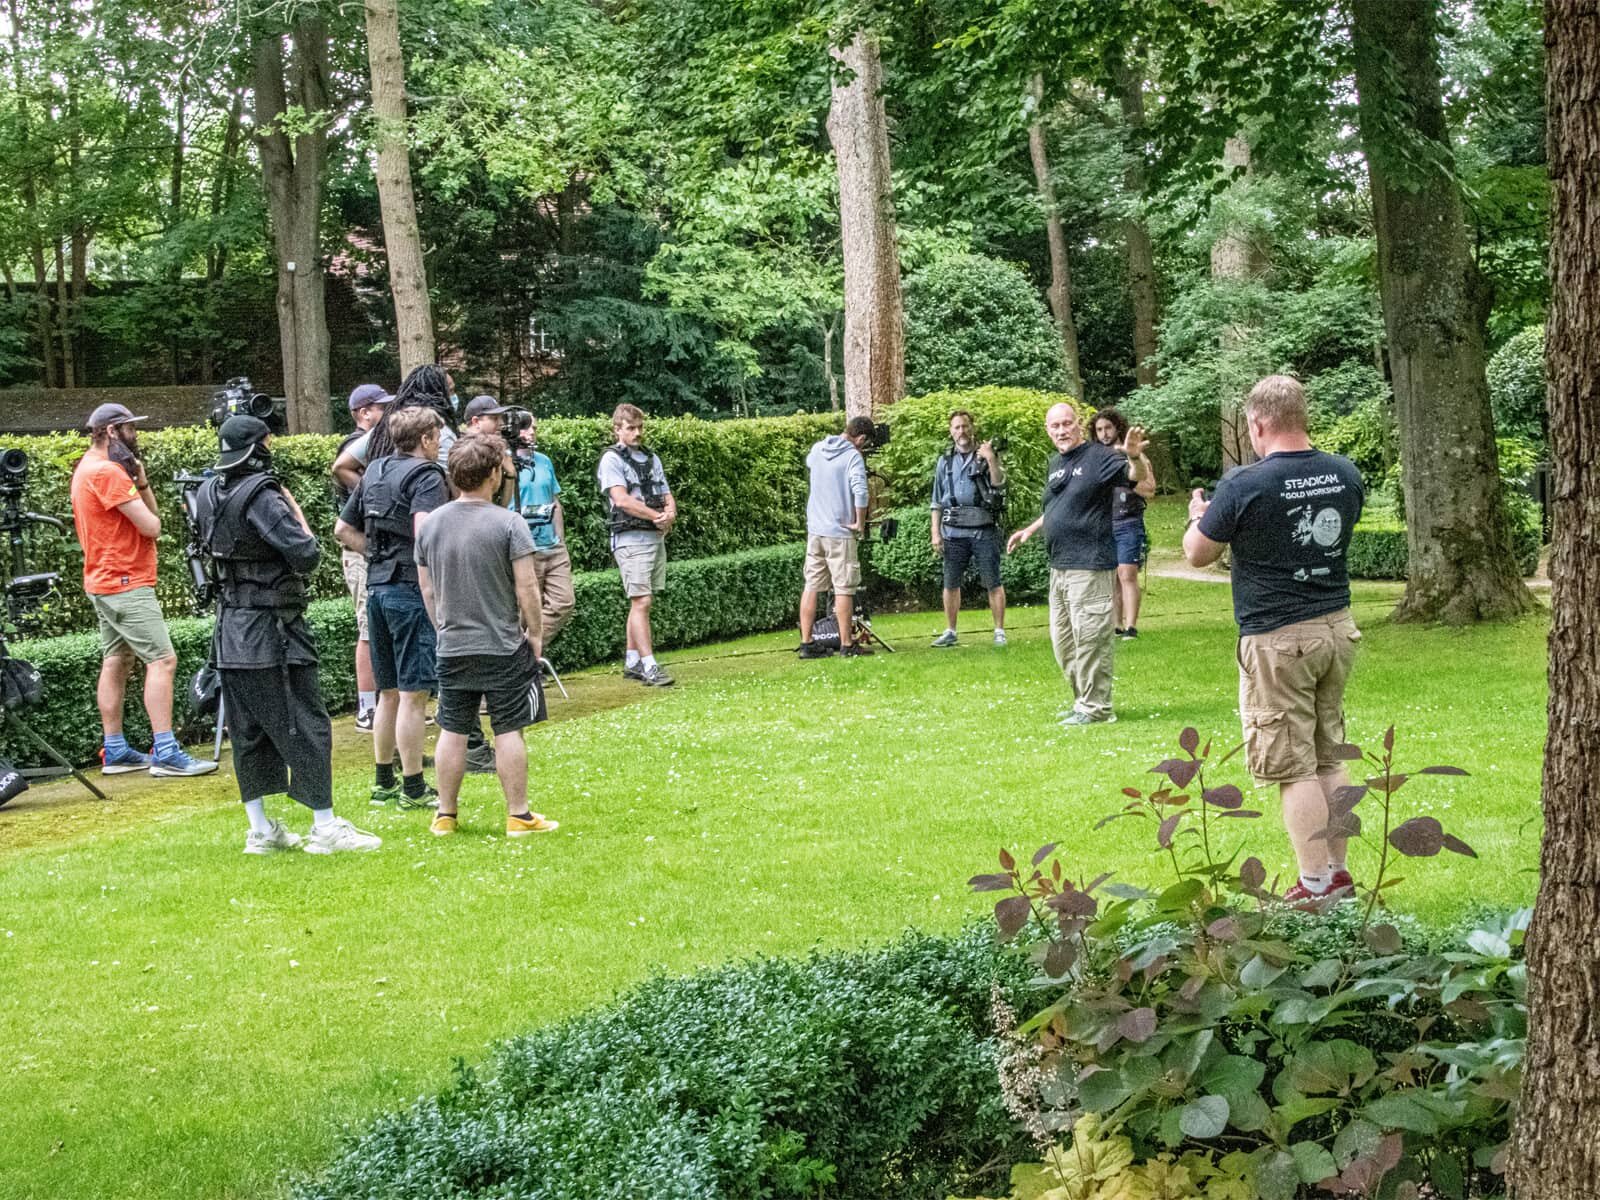
I had the pleasure recently to participate in a Silver Steadicam Workshop, organised by Tiffen at The Bull Hotel in Gerrards Cross, UK.

I’ve been also featured in an article from britishcinematographer.co.uk and here you can find my thoughts about the course:

“I started as a freelance videographer in Italy, moving to the UK in 2016. Until 2020, I worked in-house as a camera operator and DP for a local production company and last year entered the freelance world, working mainly for live-streaming events, branded content and TV commercials. My goal in the next few years is to work more on documentaries, TV commercials and possibly on TV series drama as a camera operator and DP.  

I’ve been always fascinated by Steadicam and wanted to do some training for a long time but only got the opportunity recently thanks to this Tiffen Workshop. As a camera operator/DP, I believe it’s important knowing how to operate a Steadicam. I’ve been working as a gimbal technician and operator and I can see the big difference between operating that and a Steadicam, both visually and technically.  

paolo_bischi_steadicam

I truly believe the course is worth every second. Danny and Robin are incredibly good at teaching and the course is well organised, from day one to day three. I liked that Robin shared a small collection of notes about Steadicam workflow, sometimes you just listen and there is no time to take notes during the course. It was interesting for me to test the different rigs and see the difference in fitting the various vests. It was also interesting to have suggestions regarding filming in particular circumstances such as wet weather, sand and wind!  

The course definitely raised my enthusiasm for Steadicam work, both from a creative and business perspective. I’m really happy that I did the course, a really good experience and well organised. I’m amazed that in only three days we were able to set up, balance and fly a Steadicam, with some good end results as well!”
BEHIND THE SCENE | WILLIAMS FW43 CAR LAUNCH

HOW DO YOU SHOOT A CAR COMMERCIAL?

As people asked me a lot of questions regarding the lighting and more details about the shoot, I decided to write down a post about the creative process, lighting choices and the various challenges that are behind this film:

Unfortunately, because of the cancellation of the first part of the F1 Season due to Covid-19 and the forfeit from the major sponsor, Williams Racing had to create another livery for the car and make another film for the car reveal so this is not the official film anymore but it went online on February 2020 as the official car reveals for the Formula1 season 2020. It did get some pretty good reviews, so shout out to everyone involved in the production process, especially Director Jonathan Donnelly @ RD Content who believed in the vision I had and Andrew Griffin @ RD Content for making it happen!

Creative process

We started with gathering a few ideas and discussing about the creative approach. One of the film we came across was the “AUDI - Cooling Down” film, directed by Dan DiFelice, DOP Sebastian Blenkov.

You can read more about this project here.

Taking inspirations from the film we wanted to create something similar, with a strong use of sound design and lighting.

We didn’t have enough time to get a motion control arm setup on set and we didn’t have time for post-production team to work on 3D details or animations, so we needed to find a different direction.

We decided to film a single-shot sequence and use moving-head lights in order to enhance the firing up of the car. Then, reveal the new livery in its beauty with a full view of the car. The basic idea was that shoot two different takes: the first part needed to present the car in silhouette, with lighting and sound creating a suspense, the second part needed to reveal the new livery.

Animatic

An F1 car is a very delicate and desired object, especially ahead of the Barcelona Testing weeks. We wanted to get the best out of our time with the car, so we created a 3D animation to replicate the camera movement and start planning how many shots and time we needed on set and for post-production. When we finished the 3D animation we sent it to our sound designer, who started building the soundtrack based on that.

Lighting

While working on sound, we started talking about Lighting: we wanted the first part to give a sense of contrast and raw power, while the second one could be smooth and focused on the details of the car.

We took references about the studio we were going to use (Junction Elen studios) and the kind of lighting setup that we could have in place and how to move them between take one and take two. We also started to build some sort of practical light for the background in order to give a bit more depth in the first shot, using Astera Titan Tubes.

IMG_20200212_182842.jpg
IMG_20200212_181552.jpg

We also started to build some lighting previews for the client, in order to get the sign off on the lighting quotes. We created some simple scenarios for the first part of the film with Cinema4D and Cinetracer so we could have a pretty good idea of the space and the camera movement as well.

Lighting setup

Camera

I decided to shoot with the Alexa Mini LF on steadicam, Open gate format, RAW. The reason why I decided to go for this format was that we needed enough DOF for the background and because we needed to deliver different formats: 2:39:1, 16:9, 1:1 and 9:16 for Instagram. Shooting Open Gate allowed us to get enough margin to then crop the image as we wanted in post.

We also started to do some tests in studio with the steadicam in order to get the timing right.

Shooting day

On shooting day, we arrived at Junction Eleven studios around 10 PM, waiting for the car to arrive around 2 AM. The key was to give us enough time to rehears multiple times and test different lighting setups.

Schermata 2020-07-30 alle 17.34.26.png
Schermata 2020-07-30 alle 17.34.36.png

The shoot was planned in order to have the car for at least 8 hours, but we ended up having it only 4 hours. We then needed to get back home and start editing, grade the film in order to deliver it 2 days after. Our initial strategy really paid off as we manage to get everything in the right place when the car arrived and we started to shoot straight away.

First shot

I filmed some BTS images during the first part of the shoot, have a look at the video below. As you can see, we started practising with two tables in the middle of the studio. Then, when the car arrived, we managed to get a few takes with different lighting setups so we could have a choice in the post-production process.

Second Shot

After we nailed the first shot, we had to quickly change the lighting setup for the second part of the film. We used two ARRI 5K for the ultra bounce polyboard on top of the car, other two ARRI 5K for the front and one ARRI T5 for the background. In order to have the kind of beauty shot we had in mind, we needed a soft-top source and a bright floor in front of the car to separate it from the background.

In this case, the lighting setup was pretty easy, the difficult part was to shoot starting from the full view of the car and finishing on the rear wheel, the priority was to have a good looking end frame. In this way, we then had to reverse the shot in post-production and match the timing with our animatic reference.

9e929f6f0290370b27a277140a52c0ae.jpg

We finished filming around 7am, right in time to hand-over the studio for the stills session. The car then departed to Barcelona, for the 2020 Spring test session at Circuit de Montmelo. I’m pretty happy with the final result, especially because we managed to organize every aspect of the filming and be prepared for any inconvenience ahead of the shoot. Shout out to Director Johnny Donnelly, Andrew Griffin, Jeff Clark, Dominika Besinska and Jake Morris for the hard work on set!

Last but not least, find the equipment list below:

  • Camera: ARRI Mini LF

  • Lenses: FF High Speed Prime Line - 35mm, 40mm, 50mm

  • Focus: RT motion mk1

  • Field Monitor: SmallHD 503 Ultrabright

  • Client Monitor: Atomos SUMO 19

  • Wireless remote: Teradek Bolt 500

  • 2x Titan Tubes 8 Kit

  • 4x ARRI 5K

  • 2x ARRI T5

  • 8x 4x4 Folding Black Flag

  • Various C-stands, heavy duty C-stands, heavy duty wind up, sand bags.