DOP | Camera operator
TheBotanist_Drone_shoot01_1.37.1.jpg

Blog

Posts tagged cameras
TIFFEN - Silver Steadicam Workshop
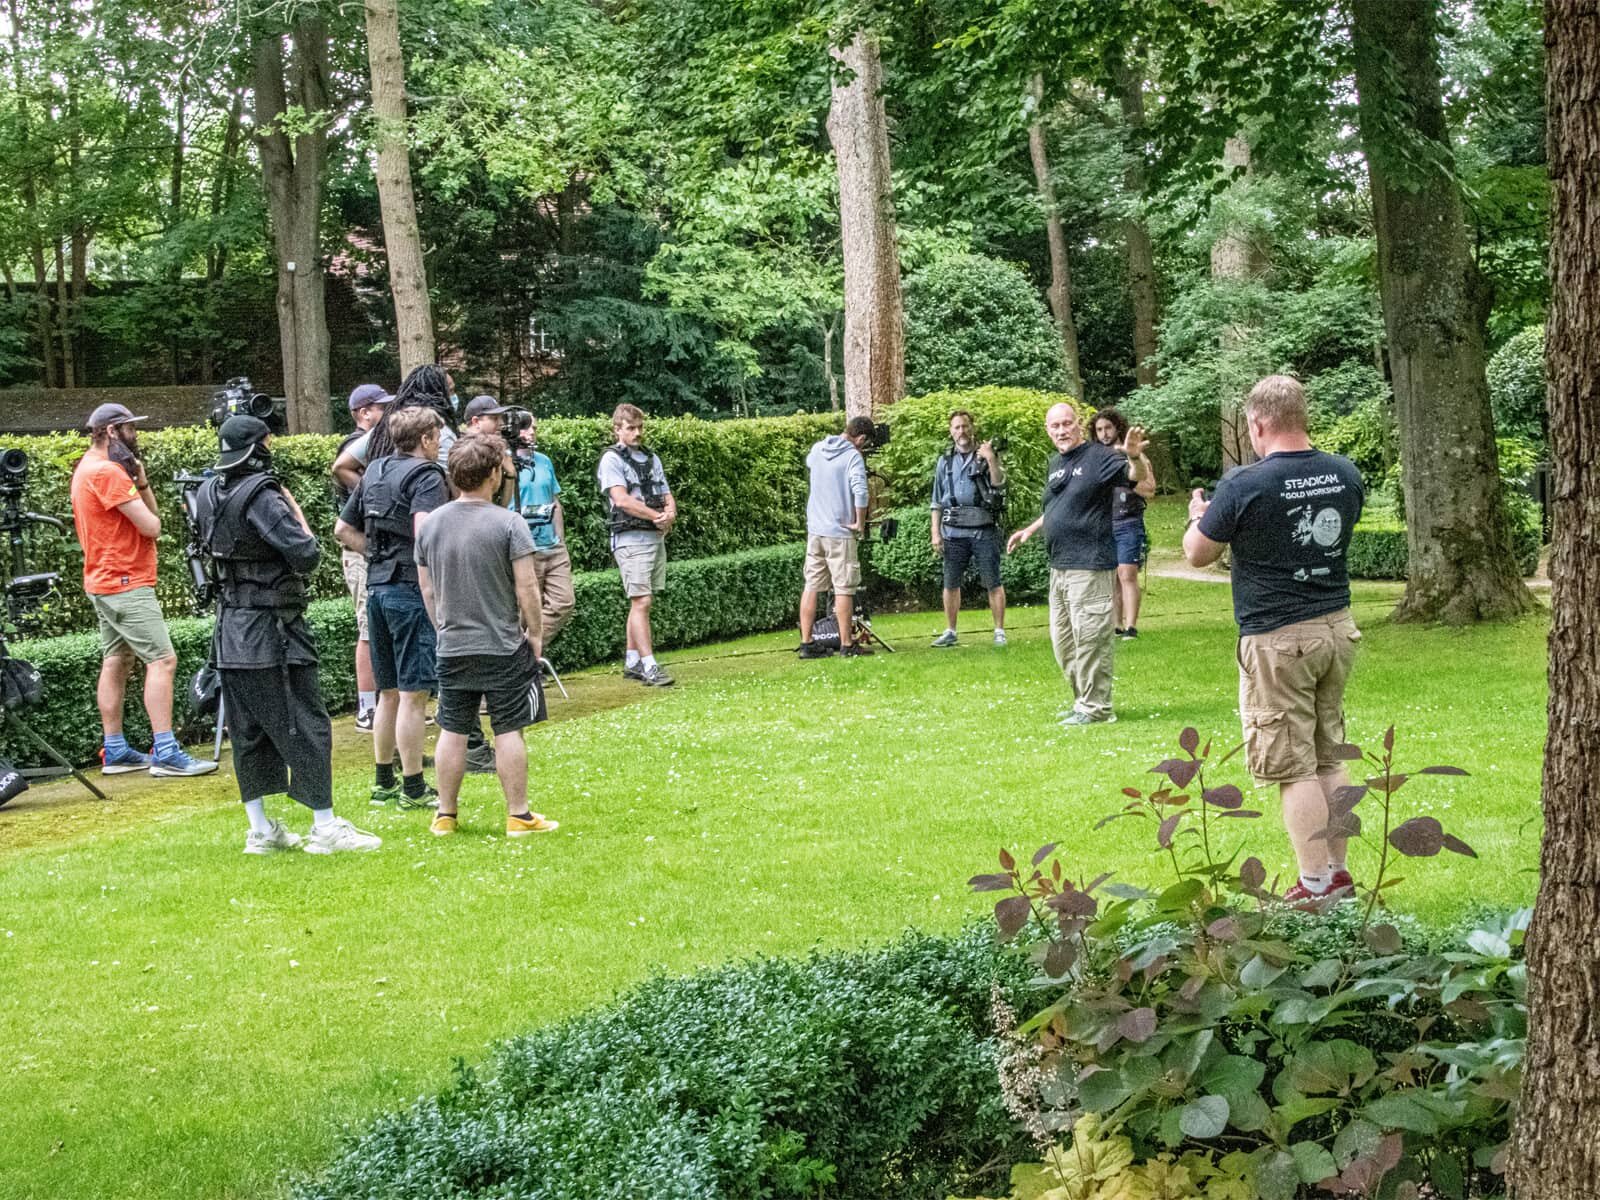
Group_DSC2953.jpg

I had the pleasure recently to participate in a Silver Steadicam Workshop, organised by Tiffen at The Bull Hotel in Gerrards Cross, UK.

I’ve been also featured in an article from britishcinematographer.co.uk and here you can find my thoughts about the course:

“I started as a freelance videographer in Italy, moving to the UK in 2016. Until 2020, I worked in-house as a camera operator and DP for a local production company and last year entered the freelance world, working mainly for live-streaming events, branded content and TV commercials. My goal in the next few years is to work more on documentaries, TV commercials and possibly on TV series drama as a camera operator and DP.  

I’ve been always fascinated by Steadicam and wanted to do some training for a long time but only got the opportunity recently thanks to this Tiffen Workshop. As a camera operator/DP, I believe it’s important knowing how to operate a Steadicam. I’ve been working as a gimbal technician and operator and I can see the big difference between operating that and a Steadicam, both visually and technically.  

paolo_bischi_steadicam

I truly believe the course is worth every second. Danny and Robin are incredibly good at teaching and the course is well organised, from day one to day three. I liked that Robin shared a small collection of notes about Steadicam workflow, sometimes you just listen and there is no time to take notes during the course. It was interesting for me to test the different rigs and see the difference in fitting the various vests. It was also interesting to have suggestions regarding filming in particular circumstances such as wet weather, sand and wind!  

The course definitely raised my enthusiasm for Steadicam work, both from a creative and business perspective. I’m really happy that I did the course, a really good experience and well organised. I’m amazed that in only three days we were able to set up, balance and fly a Steadicam, with some good end results as well!”
CAMERALAB | SONY PXW-FX9 FF and ATLAS ORION ANAMORPHIC

Hi Everyone!

Here’s my first blog post, where I’ll showcase some behind the scenes from my work, posting some 35mm film stills and talking about some camera tests. I hope you’ll enjoy it even though I’m not a good writer and I’m not good at keeping a blog updated, sorry in advance!

This first post is focused on the PXW-FX9, the latest full-frame camera produced by Sony, and some tests I did back in June 2020 with Spherical and Anamorphic lenses @ Shootblue, right after they re-opened their offices. If you don't know them, have a look at their website or ask for a demo, they have a lot of equipment available and great facilities for professionals to test out filming equipment.

IMG_20200609_125557.jpg

Sony developed this camera based on the PXW-FS7, one of the most interesting and versatile cameras on the market. I personally used the FS7 on may shoots since it came out 6 years ago. I shot mainly interviews and corporate videos with it but also documentaries and branded content videos. To be brutally honest, I never liked the colourimetry and some other features of the camera, the user menu, the EVF and the monitor.

Schermata 2020-07-15 alle 16.33.34.png

Sony created something different this time, taking inspiration from the big sister SONY Venice and trying to put them inside a new FS7 camera body. A Full Frame camera, with a new colourimetry and new specifics:

  • 6K full-frame sensor.

  • Dual Base ISO 800/4000.

  • AF with face detection and Eye-AF.

  • 4K 4:2:2 10bit internal recording.

  • UHD up to 60 fps, HD up to 180 fps.

  • Four channels of audio.

  • External 16-bit RAW (added with the latest firmware)

  • 10-bit S35 4K at 120fps to an external recorder.

For full specifics, please visit the Sony website.

I went to Shootblue to test this camera for the first time with a lot of questions and expectations: I wanted to find a cheap alternative capable of filming with Anamorphic lenses instead of going for an Alexa Mini. Before testing the FX9, I went on the CVP lens tool page and tested how much difference I could get from the two sensors.
What you find below is a series of tests between the FX9 and the Alexa Mini sensor, using the 32mm Atlas Orion Anamorphic, and applying the 2:39:1 aspect ratio (green line).

FX9 sensors - Dimensions: 35.688mm (H) x18.818mm (V) x 40.345mm (diagonal)

Alexa Mini sensor - Dimensions: 26.400mm (H) x14.850mm (V) x 30.290mm (diagonal)

As you see, the Sony FX9 sensor can cover the lens in the 2:39:1 aspect ratio, even though you must cut the external area in post-production. IMPORTANT! The FX9 is not ready to manage anamorphic de-squeeze in-camera yet and this is what pushed me to go and test the camera directly at Shootblue. Below you can also see the comparison between the two sensors:

Lens Test

Happy with this comparison, I went to Shootblue so I could test in person. It’s always easy to find the pro-cons when you actually have the camera in your hands, especially because of the way you operate: your personal style is the key of your work and if you are not comfortable with the setup that’s going to give you more problems than you can imagine.

I first tested the camera with an EF Canon lens, mounted on an E to EF mount adaptor. I used a 14mm L f2.8 Canon lens in order to have an initial feeling with the camera on both FF and S35 cropped mode.

I then started playing with the Atlas Orion 32mm on FF mode. This is what you actually see on camera, as you can’t de-squeeze automatically.

This is what you get when you shoot anamorphic with this setup, with a recording format XAVC-I DCI4K 25p, bit rate 250 Mbps. and a pixel dimension of 3794x3168. I opened the file with SONY RAW Viewer, a software that I often use to have a preview of .MXF files. I then exported the file as PRORES4444HQ and applied a fast colour correction and 2x de-squeeze, so I could get this final image:

Following you can find what is the area covered in 2:39:1

In order to have a nice preview of this framing, I had a field monitor on camera (SmallHD 502) and a SmallHD Cine7 as client monitor. Those monitors will give you a 2x de-squeeze and you can zoom in enough to cut out the edges of the picture that you don’t want to see. It’s a tricky way but it works just fine.

The only problem I had was that when you switch to 50FPS the camera crops the sensor to S35. It’s not a huge problem, but to be brutally honest I don’t like it at all. You have the same issue with cameras like RED, and you must consider this aspect when planning to use anamorphic lenses. In this case, the widest lens in the Orion set is 32mm, so when you crop the sensor you’ll get something close to a 50mm anamorphic lens.

I really liked the quality of the image in post-production. Sony improved the colourimetry and it’s very similar to what you’ll get with the Sony Venice. Skin tones look goods and when playing around in Resolve DaVinci 16 I had the feeling that everything was more balanced and easier to play with.

I’m planning to use this setup for an upcoming project and I hope I’ll have the chance to share a bit more in the next couple of months about it. Generally speaking, a lot of people are selling their old FS7 and buying a new Sony FX9 and I can see why. Personally, I prefer to invest in lenses or accessories as the market moves very fast, a camera like this could be beaten in a matter of months by another competitor such as Blackmagic or Canon and I believe that you always have to consider the different aspects of a project and then choose the right tool for the occasion.

Don’t forget to leave a comment!

See you on the next one!